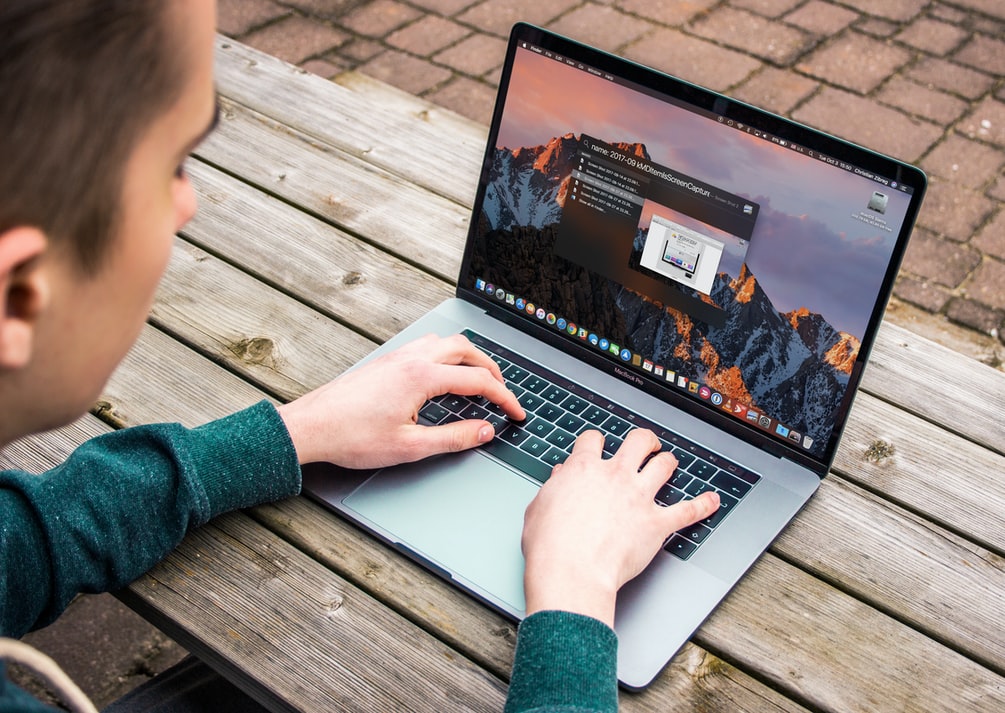
The first time I got my hands on a MacBook, I was 13. I used to do everything to explore macOS. That was when I accidentally noticed that doing certain gestures on the trackpad trigger some actions. Upon some exploring, I found out a list of Mac trackpad gestures and ever since I’ve been using them extensively. They’re super useful.
So here I’ve curated 7 of the most useful gestures you need to know if you use a Mac as your daily driver.
Articles continues after this infographic
Feel free to embed/share this infographic on your blog. Just copy/paste this code:
<a href="https://theciva.wordpress.com/2020/06/03/7-mac-trackpad-gestures/"><img src="https://theciva.files.wordpress.com/2020/06/knowing-these-7-mac-trackpad-gestures-will-save-you-a-lot-of-time.png" alt="6 Mac Trackpad Gestures infographics" title="Knowing These 7 Mac Trackpad Gestures Will Save You A Lot Of Time - Infographic" width="800" height="2000" /></a><br /><small>Like this infographic? Get more <a href="https://theciva.wordpress.com/"> infographics from Theciva </a></small>1. Look Up Files/Words
This is the handiest trackpad gesture in macOS. You can see previews or details of any file or folder or even use the dictionary with QuickLook. And this gestures makes QuickLook super handy.
So all you need to do is tap on any file or folder and then tap on your Mac’s trackpad with three fingers.

You can use this gesture to
- To see a preview of any image, video, audio, presentation etc file without opening it. (You can also press
Spacebar for this) - Tap with three fingers on any word and you can see its meaning show up instantaneously.
- Do this gesture on any link and see a link preview.
2. Go Back Or Forward In A Browser
This one is super handy if most of your time on a Mac is spent on a Browser. To go back to the previous page or to go forward to a page you’ve backed from, there are two easy gestures.

Just swipe right with two fingers to go back and swipe left go forward. This works smoothly on most browsers including but not limited to Chrome and Safari.
3. Open Launchpad
Launchpad is where all the apps on your Mac show up. Most users including me don’t use it often because Spotlight Search and the Dock are more than enough to open an app. But launchpad shows you all apps in a grid. And it’s great for times when you’re looking for apps you haven’t put in your Applications folder. Or for apps, you don’t use frequently.
So, just use five fingers — or, four fingers (five is easier) — and pinch in. In other words, keep your fingers on the trackpad and move them inwards.

To exit Launchpad, you can either press the esc button or the F4 button (In some Macs, Fn+F4).
4. Show App Exposé
Some apps (like Finder) let you open more than one window at a time. This can be hard to manage. App Exposé makes this easy. One gesture shows you all the open windows of the current app, making it easier to manage.

Swiping down with three (or four) fingers is the gesture to open App Exposé. Note that this doesn’t work in full-screen apps. No matter how many windows you’ve opened app Exposé shows them all.
5. Show Mission Control
Mission control is like a more powerful App Exposé. I always prefer using Mission Control more than App Exposé because it does what App Exposé does but not one app at a time. It shows all open windows of all apps including full-screen apps and Desktops.

You just need to do what you did to open App Exposé but in reverse. I mean you’ve to swipe up with three (or four) fingers on your Mac’s trackpad. You can then take your cursor to the top of the screen to see all full-screen apps, desktops, and the Dashboard (if you’ve updated to macOS Catalina). You swipe left/right to switch apps and desktops.
6. Show Desktop
When you have a ton of windows open, it’s really hard to manage or see files on your Desktop. That’s when this Show Desktop gesture helps you.
If you’ve ever used a Windows PC, you’d know the little button on the right end of the taskbar that clears all windows and shows you the Desktop. In a Mac, it’s similar except that you have a cool gesture for it.
Besides clearing the screen from windows, you can use this to get back to your Desktop from Launchpad and App Exposé.

You just need to do what you did to open Launchpad but in reverse. With four or five fingers, pinch out. To get back all windows back, pinch in with five/four fingers.
7. Open Notification Centre
Notification Centre on a Mac isn’t as useful as it is iOS. Yet it can be of help. You can see date and time, world clock, the song playing currently, calender events, stocks, reminders and of course app notification.
The reason I use it mostly is to toggle on Nightshift which makes your Mac’s screen kinder on your eyes, reducing digital eye strain.
To open you have to swipe left from the right edge of the trackpad. You can then edit items there with the button down below.
If you’re looking for Night Shift, you’ll have to scroll down in the Notification centre.
How To Change Or Disable Mac Trackpad Gestures?
- Click on the icon on the top-left of your screen and select “System Preferences”
- Go to Trackpad preferences.
There you can see a list of all trackpad gestures with options to change or disable them.


3 replies on “Knowing These 7 Mac Trackpad Gestures Will Save You A Lot Of Time”
[…] personally don’t prefer using a mouse with my Mac because the trackpad is way better. The third thing you interact with the most on your Mac is, thus, the trackpad. And like the […]
LikeLike
[…] […]
LikeLike
Like!! Great article post.Really thank you! Really Cool.
LikeLike